Rust Underwater Labs Guide: Getting There, Loot & Surviving the Dive
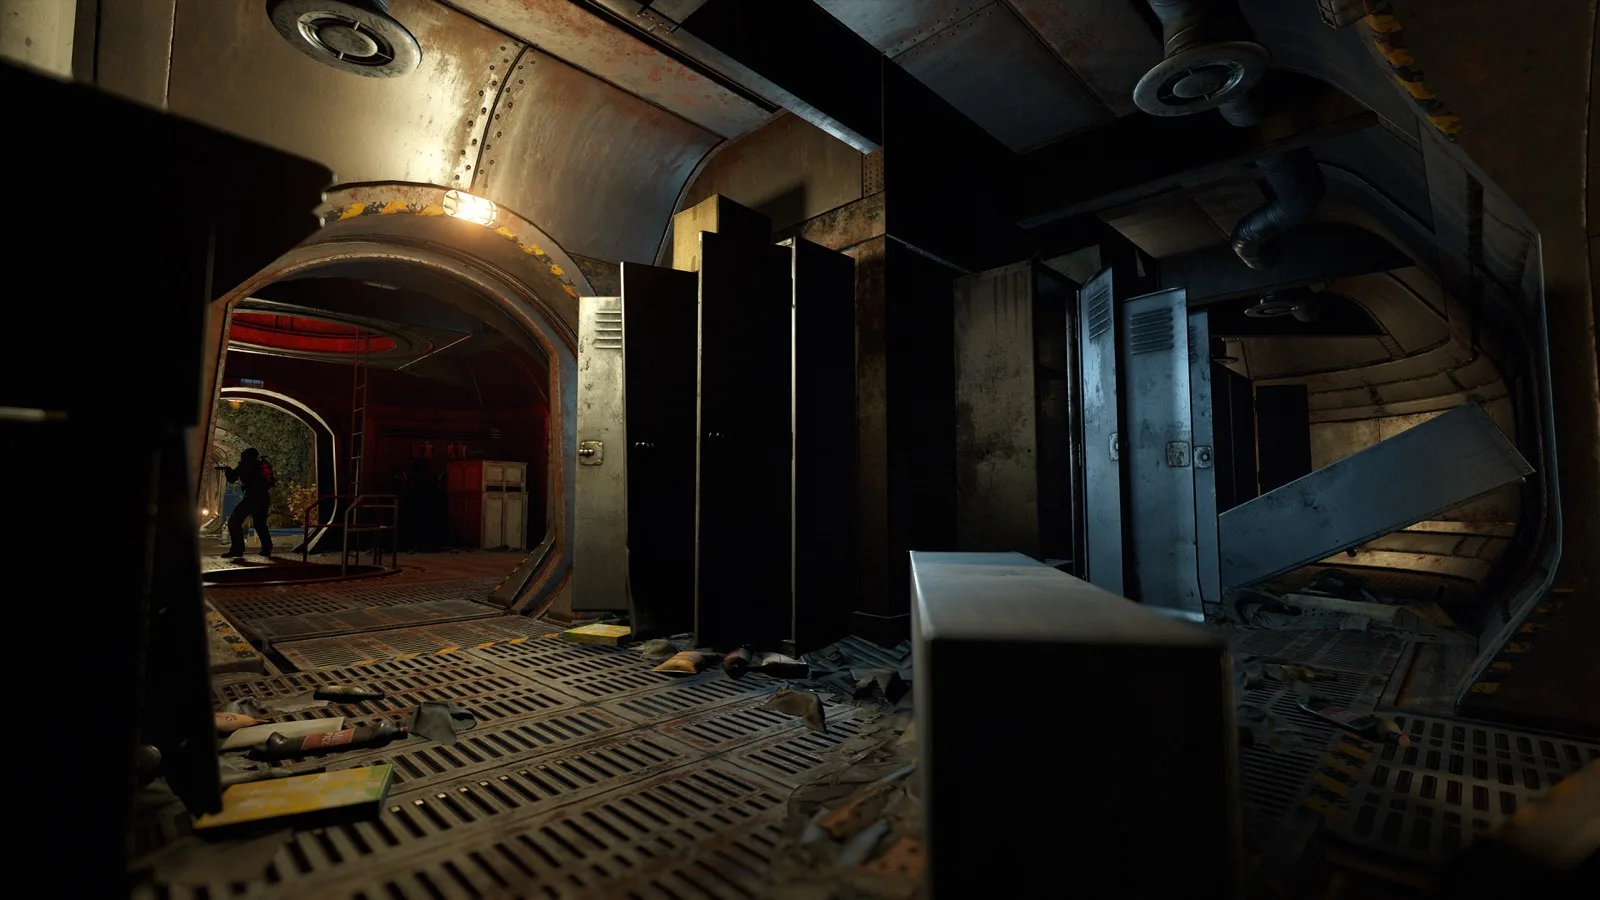
Buy a Solo Submarine. That's the short version of this whole underwater labs guide. For 200 scrap at a Fishing Village you get a vehicle that carries you to the lab, docks inside it through a moonpool, and waits there as your ride home while you strip crates that most of the server never touches. The labs are one of the least contested loot loops in Rust — the barrier is getting down there, and the barrier is cheap.
Underwater Labs are procedurally generated monuments sitting on the ocean floor. Every map rolls its own set of labs with their own layouts, which is why no two feel the same and why nobody can hand you one true floor plan. What stays constant is what's inside: rooms full of crates, armed Dwellers patrolling the corridors, keycard-locked doors guarding the best of it, and a recycler so you can process components without surfacing. Our Underwater Labs monument page covers the quick-reference version; this guide is the full run.
Three Ways Down
There's no wrong way to reach a lab, but there's a clear pecking order.
1. Submarine (the right way). Fishing Village vendors sell the Solo Submarine for 200 scrap and the Duo Submarine for 300. The solo is a one-seater with 500 HP; the duo seats two — driver plus a torpedo gunner — and takes 700 HP of punishment. Either one drives you straight into the lab's moonpool, which means you arrive dry, with your gear, and with an exit vehicle parked inside the monument. For 200 scrap this is the best value fast-travel purchase in the game.
2. Diving gear (the budget way). A Wetsuit costs just 75 metal fragments and Diving Fins cost 100, both craftable with no workbench. The tank and mask you won't craft on a fresh wipe — you find diving gear in crates instead; per our computed loot tables (verified 2026-08-04), ordinary wooden crates drop the diving mask at 4.2%, the diving tank at 2.5%, and fins at 1.7%, so a full swim kit accumulates naturally while you loot roads. Swimming down works, but you arrive slower, colder, and with sharks between you and the door.
3. Diver Propulsion Vehicle (the upgrade). The DPV is an underwater scooter: 1 tech trash and 150 metal fragments at a level 2 workbench, or 30 scrap to research. It drags you through the water far faster than fins. Fittingly, the labs themselves are one of the places it drops — it appears in both the lab elite and normal crate pools — so plenty of players tow their first one home from the monument it's built for.
Getting In: Moonpools
Every lab has moonpool bays — open pools in the floor of the structure where the ocean meets the interior. Drive your submarine up into one and surface, and you're standing inside the lab. Swimmers use the same openings. The moonpool room is your anchor point for the whole run: it's where your sub waits, it's your fallback if a fight goes wrong, and it's the room you need to remember how to find when your inventory is full. Procedural layouts mean corridors between you and it will differ every map, so take note of the route as you push deeper.
Two practical notes. Larger labs can roll more than one moonpool bay, and the big central pools are the obvious, watched entrances — when a lab offers a smaller side pool, docking there puts fewer sightlines on you as you surface. And fuel math favors patience: per our datamine of Rust's vehicle data (verified 2026-08-04), the Solo Submarine sips 0.025 low grade per second at idle but burns over five times that (0.13/s) at full throttle, so cruising to the lab instead of redlining roughly doubles what a tank of fuel gets you. The Duo runs slightly thirstier at 0.03–0.15/s.
The Loot: What Lab Crates Actually Drop
This is why you're here. Labs are stacked with their own family of crates, and our item database (built from Rust's own files) shows what feeds from each:
| Crate | What's in it |
|---|---|
| Lab Elite Crate | The headline loot: Assault Rifle, Bolt Action Rifle, HMLMG, Double Barrel, 8x Zoom Scope, Extended Magazine, Auto Turret, armored building pieces, the DPV |
| Lab Normal Crates | A deep pool of deployables, electricals and mid-tier gear — furnaces, garage doors, turret components, Hazmat Suit, Handmade SMG |
| Ammunition Crate | Pistol ammo and 12 gauge — buckshot, slugs, incendiary shells |
| Tools Crate | Jackhammer, chainsaw, salvaged tools, bows |
| Tier 2 / Tier 3 Component Crates | Gears, pipes, springs, road signs — and Auto Turrets from the tier 3 pool |
| Medical Crate | Bandages and Large Medkits |
| Food Crates | Apples, bread, corn, potatoes |
| Fuel Crate | Low grade fuel — top up the sub on the way out |
There are also standard Underwater Basic and Advanced crates scattered through the rooms, pulling from wide pools of tools, clothing and deployables. The practical read: a full lab clear feeds every part of your base — guns and attachments from the elite rooms, components for the recycler, meds and food to sustain the run, and fuel so the trip home is free.
Dwellers: The Lab's Scientists
Labs are patrolled by Underwater Lab Dwellers — the aquatic cousins of the Tunnel Dwellers you meet on the underground rail network. They're armed with close-quarters kit — think sidearms and SMGs rather than rifles — they roam the corridors, and they will absolutely delete a player who moonpools in wearing nothing but a wetsuit. Bring a real weapon and armor in your sub, fight them corridor by corridor rather than in open rooms, and loot the bodies — their drop pool runs from components like springs and road signs through clothing and deployables. Clear as you go; a Dweller you skipped is a Dweller that spawns behind you during the keycard room.
Keycard Rooms
Yes, labs have puzzle rooms. Our monument data flags Underwater Labs as a card-and-keycard puzzle monument, and the locked doors follow the same logic as every surface monument: keycards open the doors, and the best-stocked rooms sit behind them. Come carrying cards — there's no point diving to a lab and standing in front of a locked door empty-handed. The keycards guide covers how to build your card collection before the trip.
Because layouts are procedural, the exact rooms vary, but the puzzle modules follow the familiar tiering. Green-tier rooms are the simple swipes; blue-tier rooms add fuses and timer switches; and the red-tier rooms are the lab's jackpot, typically wanting a red card plus multiple fuses and a switch-and-timer sequence before the doors open. The practical packing list follows from that: bring your card set and more than one fuse — a deep lab run can eat several, and a burned fuse with an unopened red room behind it is the worst feeling in the ocean. Two consolations: labs restock their own supply, with green keycards spawning inside the locked rooms for the next tier of your collection, and the puzzle rooms are also where Basic and Advanced Blueprint Fragments turn up — both live items in Rust's current files per our datamine.
One more rule the labs enforce quietly: you can't build or place deployables inside. No sleeping bag behind a cleared door, no stash in a corner — whatever you open, you carry out the same trip.
Radiation, for the record, is low. This isn't a hazmat-mandatory monument like the big surface sites in our monument tier list — light protection covers it, which is convenient given you're probably arriving in a wetsuit.
CCTV: Why Your Camera Codes Don't Work
Every list of Rust CCTV codes covers Oil Rig and friends but goes quiet on labs, and here's why: because lab layouts are procedurally generated, their camera identifiers are too. The codes are unique to your server's map. Camera names follow room patterns — CANTINA, BRIG, INFIRMARY, OPERATIONS and the like — with a per-map suffix, so no published list can include them. The fix is inside the monument: labs contain Computer Stations pre-loaded with that lab's own camera identifiers, so scope the rooms from a chair before you push them. Our CCTV codes page has the full pattern list and every static code for the surface monuments.
Sharks
The ocean between you and the lab is not empty. Sharks patrol the water around dive spots, and per our datamine of Rust's files the live shark carries 148 HP — enough that poking it with a knife mid-swim is a plan you'll regret. A submarine makes the whole question disappear, which is one more argument for the 200 scrap. If you're swimming, keep moving, keep a weapon ready, and remember the shark wins fights it starts near the surface far more often than fights near the moonpool entrance.
Extraction: The Part People Fumble
Getting loot out kills more lab runs than the Dwellers do. The routine that works:
- chevron_rightRecycle before you leave. Labs have their own recycler. Break down the component spam into scrap and raw materials on-site — denser loot, fewer trips.
- chevron_rightRefuel from the fuel crates. Low grade from the lab feeds the sub that carries the loot.
- chevron_rightKnow your moonpool route. When your inventory fills, you want a rehearsed walk back, not a wander through respawned Dwellers.
- chevron_rightSurface away from eyes. A submarine popping up next to a Fishing Village advertises exactly what you're carrying. Surface near your base's stretch of coast instead.
- chevron_rightDon't overstay. Labs feel private, but a docked sub in a moonpool tells the next diver everything. Take the run, leave, come back next respawn.
Frequently Asked Questions
How do you get to underwater labs in Rust?expand_more
Three ways: buy a submarine at a Fishing Village (Solo 200 scrap, Duo 300) and drive it into the lab's moonpool, swim down with diving gear (a wetsuit is 75 metal fragments and fins are 100, both craftable without a workbench), or ride a Diver Propulsion Vehicle down. The submarine is the best option — you arrive inside the lab with your gear dry and your exit parked in the moonpool.
What loot is in underwater labs?expand_more
Labs spawn their own crate family. Elite crates hold rifles (Assault Rifle, Bolt Action, HMLMG), scopes, extended mags and Auto Turrets; normal crates carry a wide pool of deployables and mid-tier gear; and dedicated ammo, tools, component, medical, food and fuel crates round out the run. Armed Lab Dwellers drop loot too, and an on-site recycler lets you compress it all into scrap before you surface.
Do underwater labs have keycard rooms?expand_more
Yes. Underwater Labs are a card-and-keycard puzzle monument, with locked doors gating the best rooms just like surface monuments — green-tier swipes at the bottom, fuse-and-timer blue rooms in the middle, and multi-fuse red rooms holding the best loot. Bring your keycards and spare fuses down with you — the layouts are procedural, but the locked-door logic is the same one covered in our keycards guide, and green keycards spawn inside the labs to feed your next run.
Can sharks kill you in Rust?expand_more
Yes. Sharks patrol the ocean around dive spots and attack swimmers, and the live shark has 148 HP per our datamine of Rust's files, so it takes real damage to put down mid-swim. A submarine takes sharks out of the equation entirely, which is a big part of why the 200-scrap Solo Sub is the recommended way to reach a lab. The labs are the rare monument where the gatekeeper is logistics, not competition. Two hundred scrap for a sub, a weapon and armor in the hold, keycards in your pocket — that's the whole entry fee for a monument most of your server pretends doesn't exist. Take the dive.
More Guides
50 Rust tips that hold up under pressure — spawn survival, scrap farming, base building, monument runs, PvP habits, and endgame raiding, with the tools to back each one up.
Yes, you can play Rust solo. Here's how to build hidden, avoid zergs, raid on a budget, and pick servers that don't crush you.
How to get cloth in Rust: hemp picking and farming, animal harvesting, and recycling rope, sewing kits and tarp — with real yields and a fastest-route verdict.